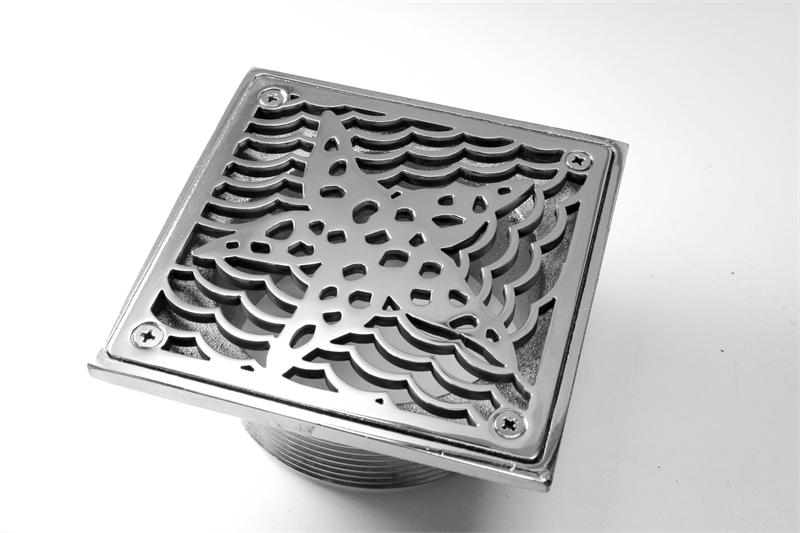
Picking out a Designer Drains can be fun and exciting! With over 40 different unique styles available, customers are always excited to get there’s installed. However, finding out which drain size and brand can replace your existing drain can sometimes get confusing, so here are a few things to keep in mind: Start with […]
Tag Archives: installing a drain rough
Installing a Drain Rough
Installing a drain rough involves the initial steps of setting up the drainage system before finishing with the decorative aspects like designer drains. Here are some key points to consider when installing a drain rough:
-
Plan and Design:
- Begin by creating a detailed plan for the drainage system. Consider factors such as the layout of the space, fixture placement, and local plumbing codes.
-
Locate Drainage Fixtures:
- Identify the locations for fixtures that require drains, such as showers, sinks, bathtubs, and floor drains.
- Measure and Mark:
- Measure and mark the locations for drain connections accurately. Double-check measurements to ensure proper alignment and spacing.
-
Consider Drainage Slope:
- Ensure that the drainage pipes have the correct slope to facilitate proper water flow. A minimum slope is typically required to prevent water pooling and promote effective drainage.
-
Use Quality Materials:
- Select high-quality pipes and fittings for the drain rough. Durable materials will contribute to the long-term effectiveness of the drainage system.
- Follow Local Codes:
- Adhere to local plumbing codes and regulations. Compliance is essential to ensure the safety and functionality of the drainage system.
- Install Cleanouts:
- Include cleanout access points in the drainage system. These access points make it easier to clear clogs and perform maintenance.
- Secure Connections:
- Properly secure all connections between pipes and fittings to prevent leaks. Use appropriate fasteners and sealants as recommended by plumbing standards.
-
Install P-Traps:
- Include P-traps in drain lines to prevent sewer gases from entering the living space. Ensure that the P-traps are properly vented to maintain proper drainage.
- Test the System:
- Conduct a pressure test to identify and fix any leaks. This step is crucial before covering up the drainage system with walls or flooring.
- Coordinate with Other Trades:
- Coordinate the installation of the drain rough with other construction trades. This ensures that the plumbing work aligns with the overall construction timeline.
-
Document the Installation:
- Keep detailed documentation of the drain rough installation, including plans, measurements, and any modifications made during the process.
By following these steps and paying attention to detail, you can ensure a well-executed drain rough installation. Once the rough-in is complete, you can then move on to the installation of your designer drains to add aesthetic appeal to the drainage system.

