Instructional Videos, Drains, DIY, Custom, Inspiration, Tips, Home Improvement, Interior Design, Home Inspo
How to Measure Schluter Drains

Dec
The Easy Step-by-Step Guide
If you’re replacing a Schluter drain cover with a Designer Drains decorative cover, accurately measuring the drain is the most crucial step. After all, a perfect fit ensures smooth drainage, a clean finish, and a stunning upgrade to your shower’s look.
Fortunately, measuring a Schluter drain isn’t complicated — and with a few simple tools, you can get accurate results in just minutes.
In this guide, we’ll walk you through how to measure Schluter drains, including round and square models, and help you choose the correct Designer Drains replacement cover.
Why Measuring Matters
Before you order a replacement cover, you need to confirm:
- The shape (round or square)
- The outer diameter or width
- The screw pattern or attachment method
- The brand compatibility (Schluter varies from Oatey, Kohler, etc.)
Correct measurements guarantee your new Designer Drains cover snaps in or screws in securely — with no wobbling, gaps, or improper fit.
Tools You’ll Need
To ensure accuracy, gather:
- A tape measure or digital caliper: Amazon
- Good lighting
- A pen and paper
- Optional: A ruler for double-checking
How to Measure a Schluter Drain — Step by Step
1. Identify the Shape of the Drain
Start by determining whether your Schluter drain is:
- Round shower drain
or
- Square shower drain
Most Schluter shower drains use a square grate, but round versions do exist, especially on older or region-specific models.
Designer Drains Links:
Square Schluter Drain Replacement Cover
2. Measure the Outer Diameter or Width
Next, measure the opening:
- For square drains: measure from one outer edge to the opposite outer edge.
- For round drains: measure the full outside diameter (widest point across).
Most Schluter grate covers measure:
- 4″ x 4″
- 3.6″ x 3.6″
- 6″ x 6″ (less common)
Take your measurement twice to confirm accuracy.
Designer Drains Links:

3. Check the Grate Thickness
After measuring the length or diameter, determine the thickness of the grate. Schluter grates are typically slim stainless steel, but measuring helps you confirm compatibility with the decorative cover you’re choosing.
To measure:
- Remove the grate (if possible).
- Use a caliper or ruler to measure its thickness.
Most Schluter drains are 2 mm – 4 mm thick.
4. Look for the Attachment Style
Next, check how your Schluter drain cover connects:
- Snap-in fit
- Screw-in fit
- Compression fit/drop-in
Designer Drains replacements are typically designed for drop-in compatibility, making installation extremely simple.
If your Schluter drain uses a screw system, note the distance between screw holes (center to center).
5. Confirm Model Compatibility
Once you have the measurements, compare them to the specifications on Designer Drains product pages.
Designer Drains is compatible with many Schluter-style drain openings, and each product page includes the grate size it fits.
If you’re unsure, you can also send a photo or measurement to the Designer Drains team — they will help confirm the perfect fit.

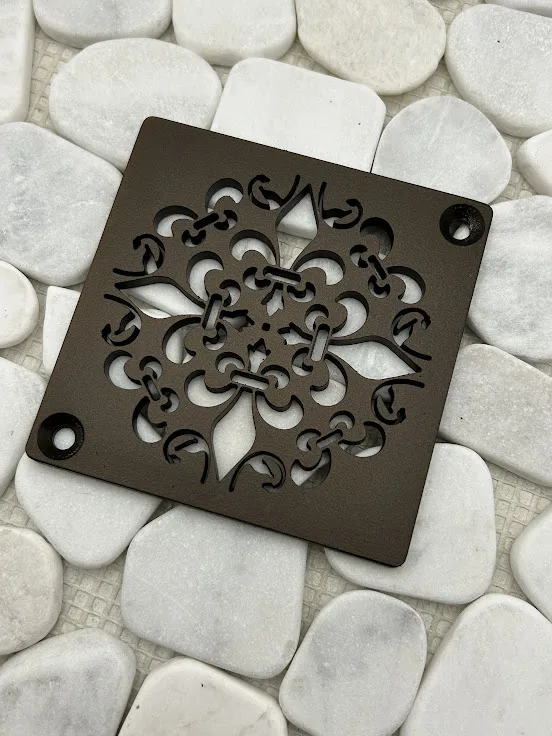
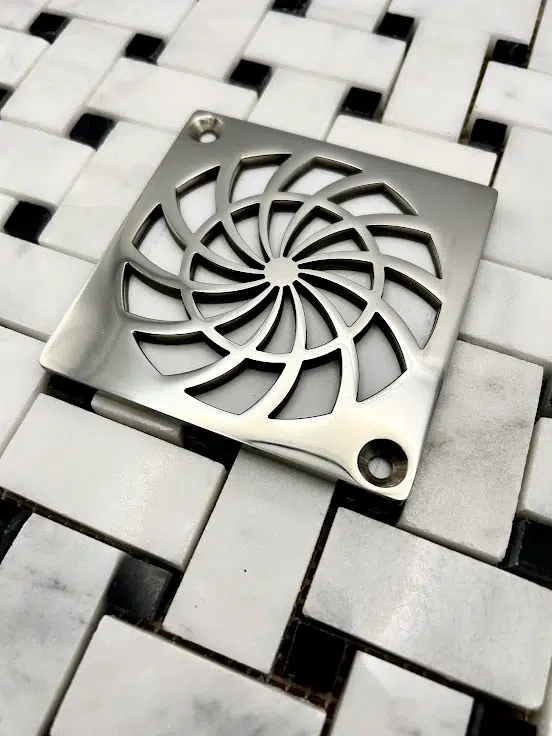
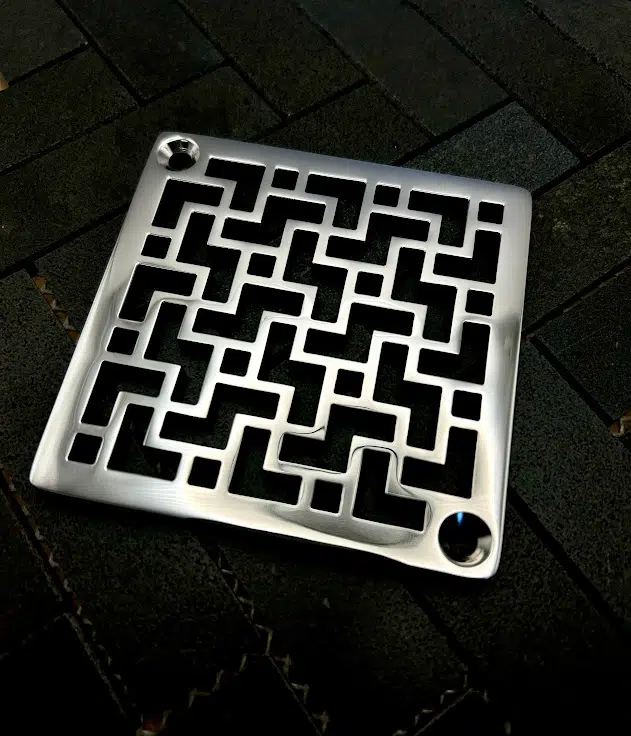
⭐ Bonus Tip: Upgrade Your Schluter Drain with a Designer Drains Cover
After you’ve measured everything correctly, you can install a decorative, corrosion-resistant stainless steel drain cover that elevates your entire shower aesthetic.
Designer Drains offers:
- Modern geometric designs
- Nature Designs
- Oceanus Designs
- Art History Designs
- Architecture Designs
- Classic Designs
A beautiful drain isn’t just functional — it becomes a focal point in your tile work.
Final Thoughts
Measuring your Schluter drain is quick and straightforward. Once you identify the shape, size, thickness, and attachment type, choosing the perfect Designer Drains cover becomes effortless.
A simple upgrade like this can dramatically improve the elegance of your shower — and because Designer Drains products use solid stainless steel, they last for years.
Your Next Stop:
Designer Drains Schluter Replacement Covers
Designer Drains: How to Choose the Perfect Decorative Shower Drain
Designer Drains: Everything You Need to Know About Shower Drain Covers
Designer Drains: Understanding Metal Finishes: A Guide to Choosing the Perfect Look for Your Space